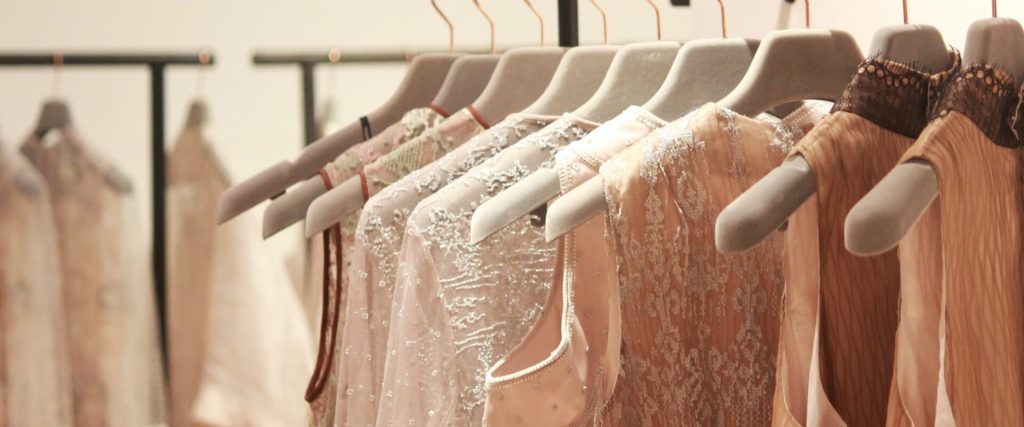
Creating a perfect clothing sample requires a blend of creativity, precision, and attention to detail. Whether you’re a seasoned designer or a newcomer to the fashion industry, mastering the art of crafting impeccable garment samples is essential. In this guide, we’ll walk you through the steps to create a flawless clothing sample that showcases your vision and craftsmanship.

Step 1: Conceptualization
Before diving into the physical creation process, it’s crucial to have a clear concept of the garment you want to design. Start by sketching your ideas on paper or using digital design software. Consider the silhouette, fabric choices, embellishments, and overall aesthetic of the garment. This initial brainstorming phase sets the foundation for the entire sample-making process.
Step 2: Material Selection
Once you’ve finalized your design concept, it’s time to select the materials that will bring your vision to life. Choose high-quality fabrics that align with the look and feel you’re aiming for. Pay attention to factors such as texture, drape, and color. Ordering fabric swatches and conducting fabric tests can help ensure that you’re making the right choices for your sample.
Step 3: Pattern Making
Pattern making is a crucial step in the sample-making process, as it determines the fit and shape of the garment. Start by creating a basic pattern based on your design sketches. Use measurements and technical specifications to refine the pattern and ensure accuracy. Consider factors such as seam allowances, dart placements, and grainlines to achieve a precise fit.
Step 4: Cutting and Sewing
With your pattern finalized, it’s time to cut the fabric and begin sewing the garment together. Take your time to ensure precision and attention to detail at every step of the sewing process. Use quality sewing equipment and techniques to achieve professional results. Assemble the garment according to your pattern instructions, making any necessary adjustments along the way.
Step 5: Fitting and Adjustments
Once the garment is sewn together, it’s essential to conduct fittings to assess the fit and make any necessary adjustments. Use dress forms or fit models to evaluate the garment’s silhouette, proportions, and comfort level. Take note of any areas that require alterations and make the necessary changes to refine the sample to perfection.
Step 6: Finishing Touches
The final step in creating the perfect clothing sample is adding finishing touches that enhance its overall appearance and quality. This may include hemming, pressing, adding closures or embellishments, and attaching labels or tags. Pay attention to every detail to ensure that the finished sample reflects your design vision and meets the highest standards of craftsmanship.
Conclusion
Crafting a perfect clothing sample requires dedication, skill, and attention to detail. By following these steps and investing time and effort into each stage of the process, you can create a sample that not only showcases your design talent but also sets the standard for excellence in the fashion industry. Remember, the journey from concept to creation is a rewarding one, and each sample you create brings you one step closer to realizing your fashion dreams.

